Care
Tank Size
Axolotls need a good amount of roaming space at the bottom of their tank. For babies 1.5 to 2 inches in length, a 5 gallon or half-filled 10 gallon tank is perfect. For babies 3 inches long to 5 inch juveniles, a 20 gallon (long) tank is great. Two axolotls can fit in this size tank together. Babies need less room, but will grow faster in areas they can expand into.
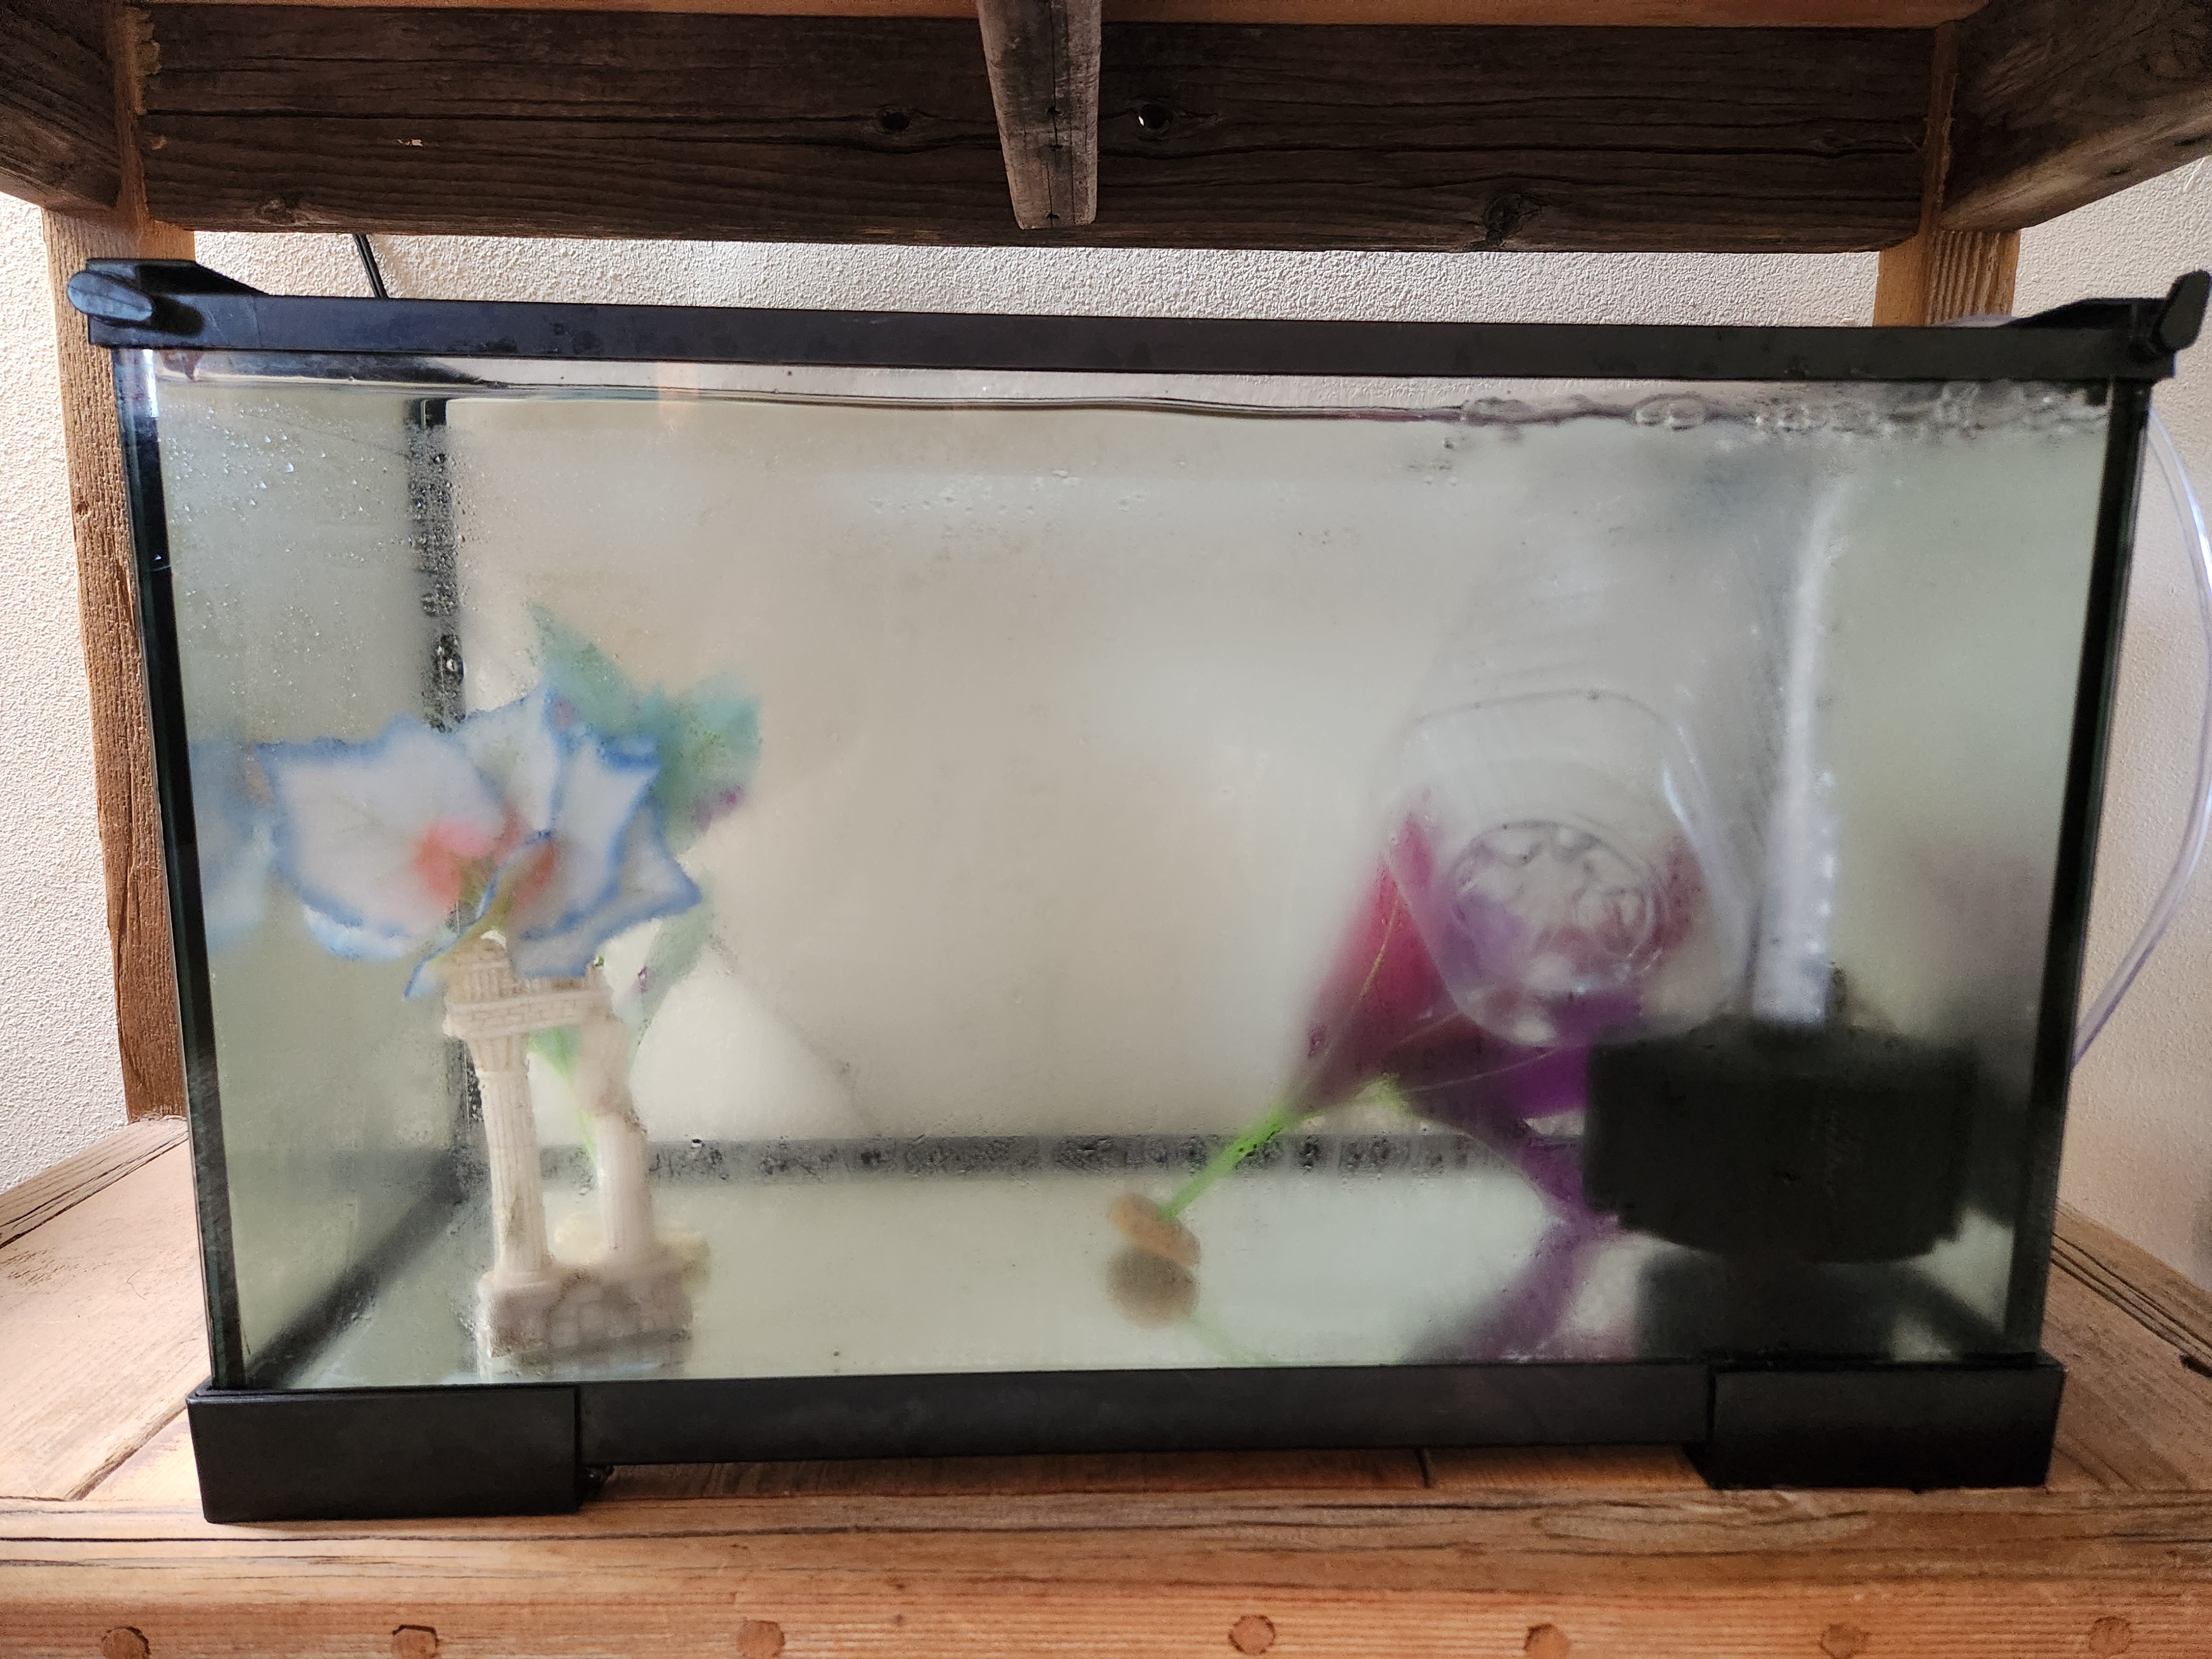
Setting Up the Tank
1. First, let the airstone soak in water for one hour before hooking it up to the airline/pump to allow full saturation.
2. While the airstone soaks, fill the bottom of your tank with FINE GRAIN substrate (or keep the bottom bare).
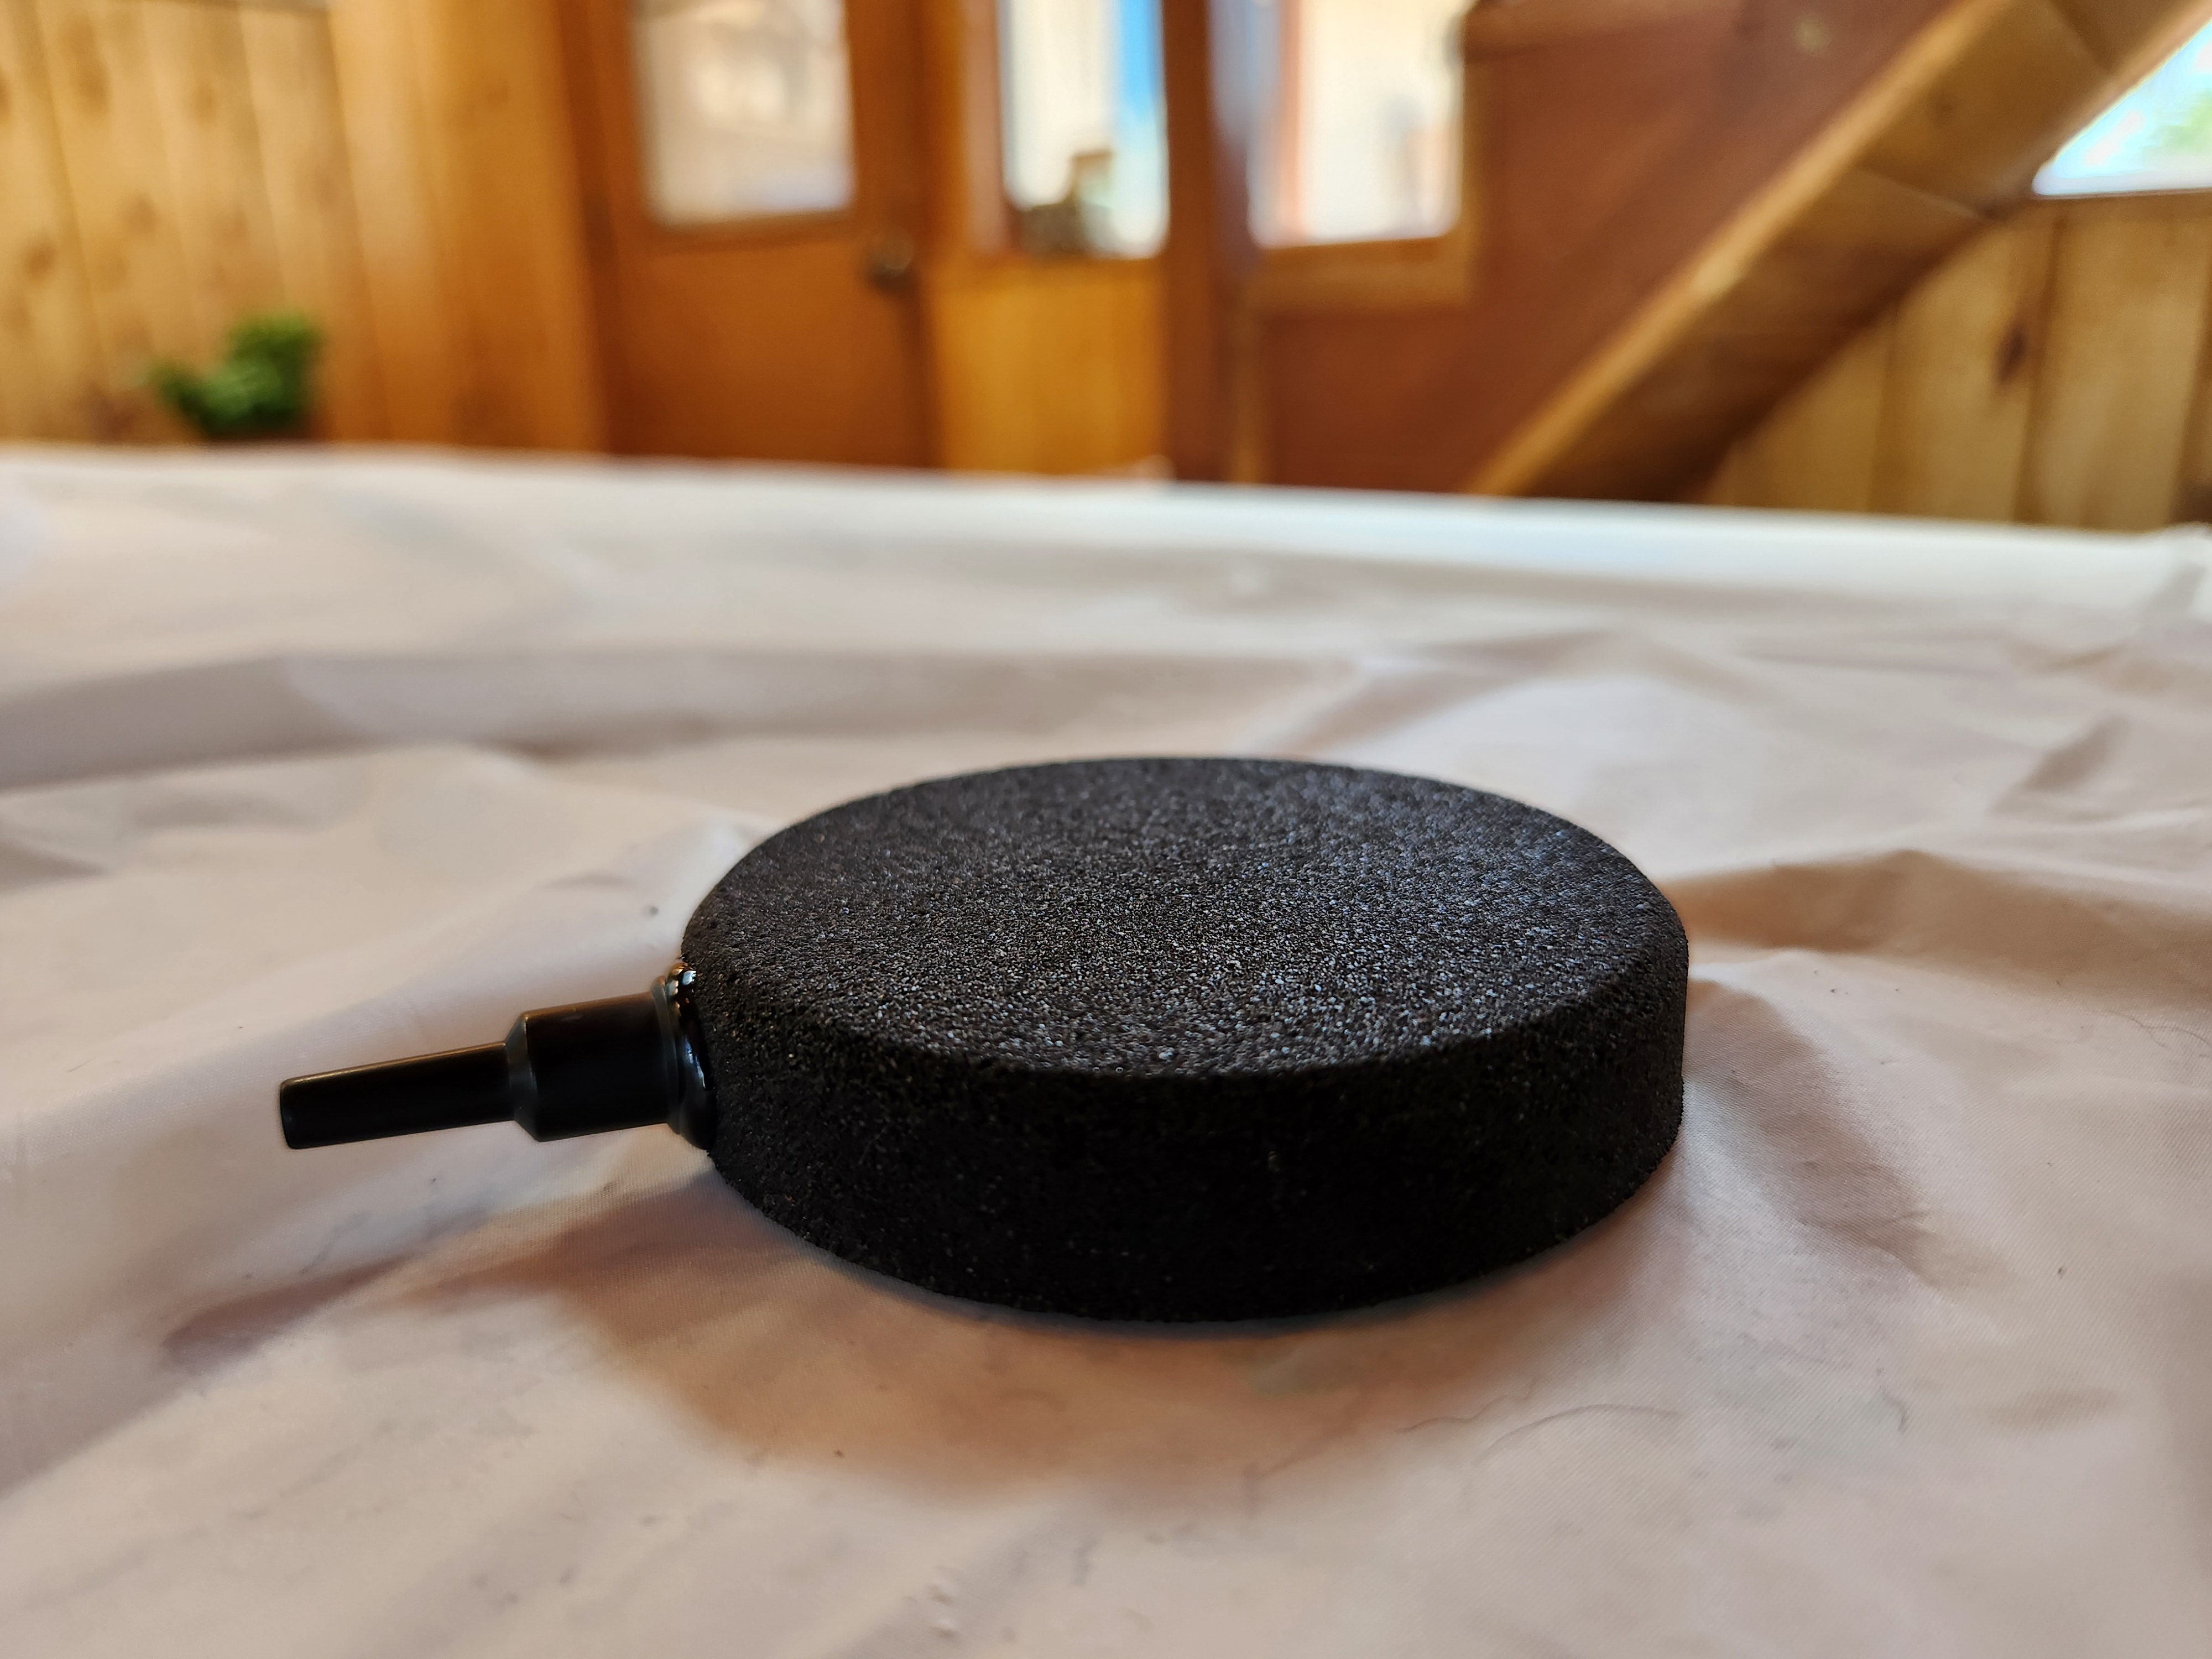
Substrate Warning: Fine grain substrate or bare tank only! Axolotls will try to eat anything that fits in their mouth. If they ingest a larger piece of rock, it can cause serious impaction and lead to death.
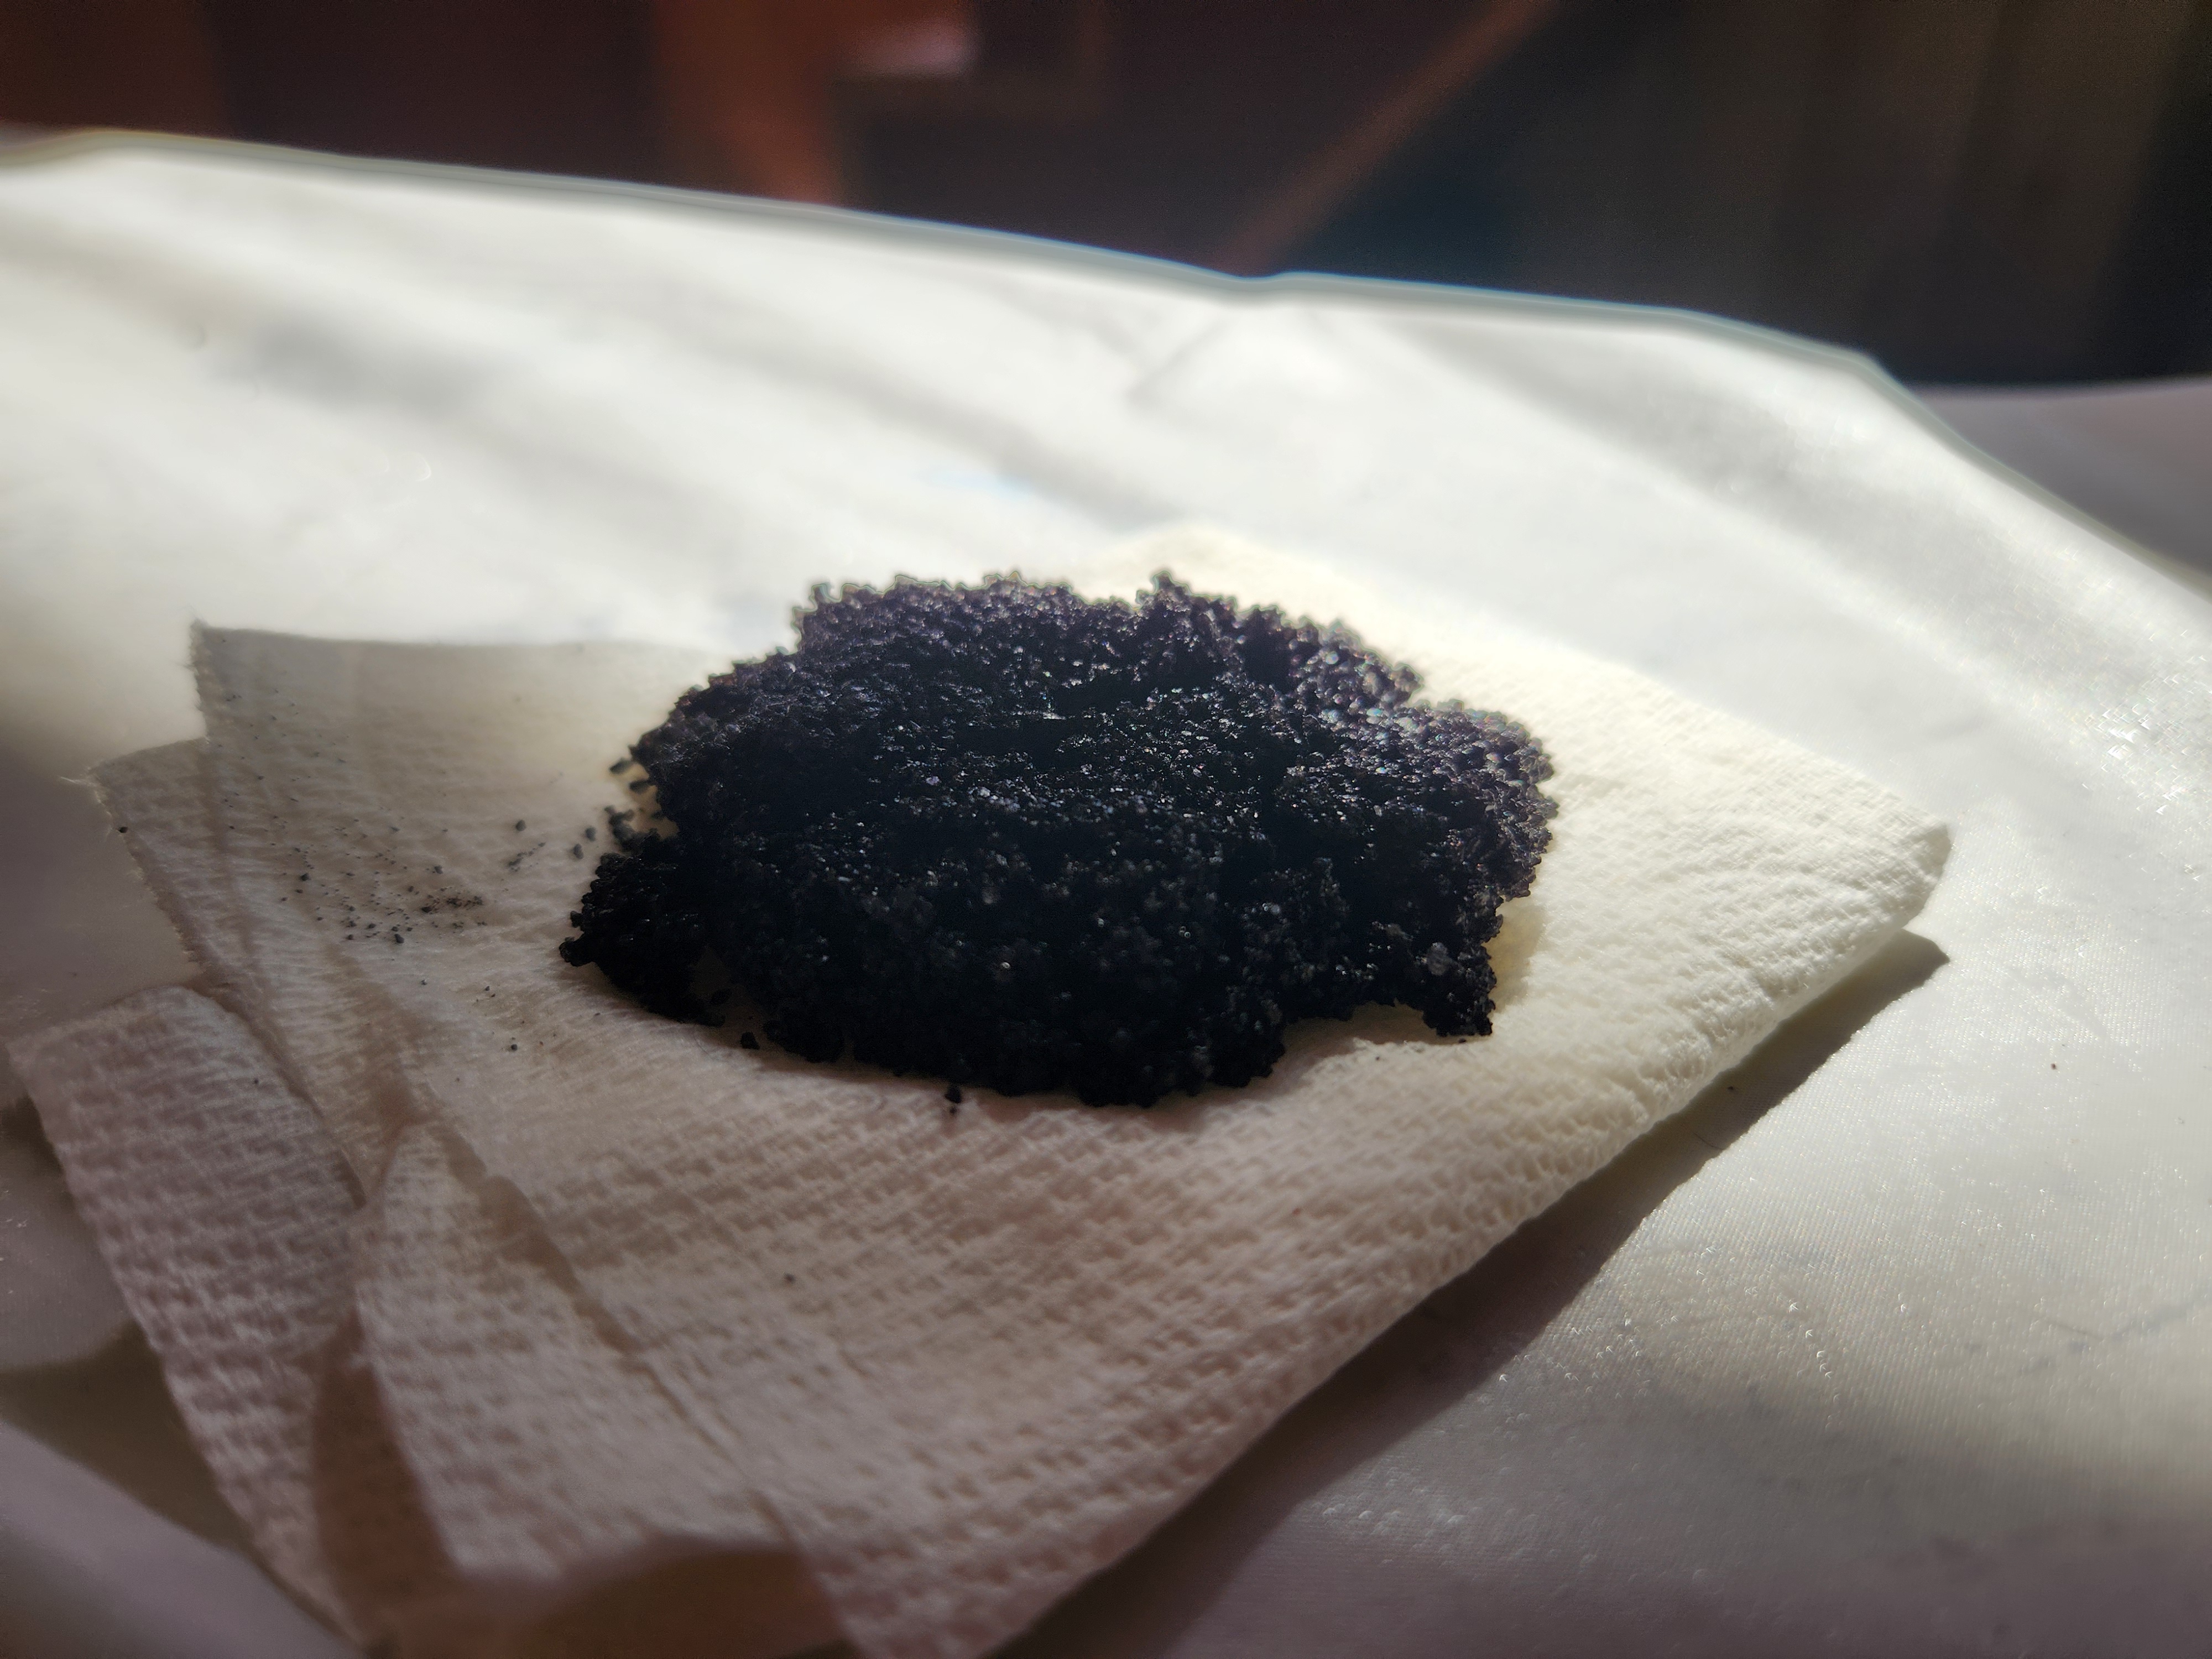
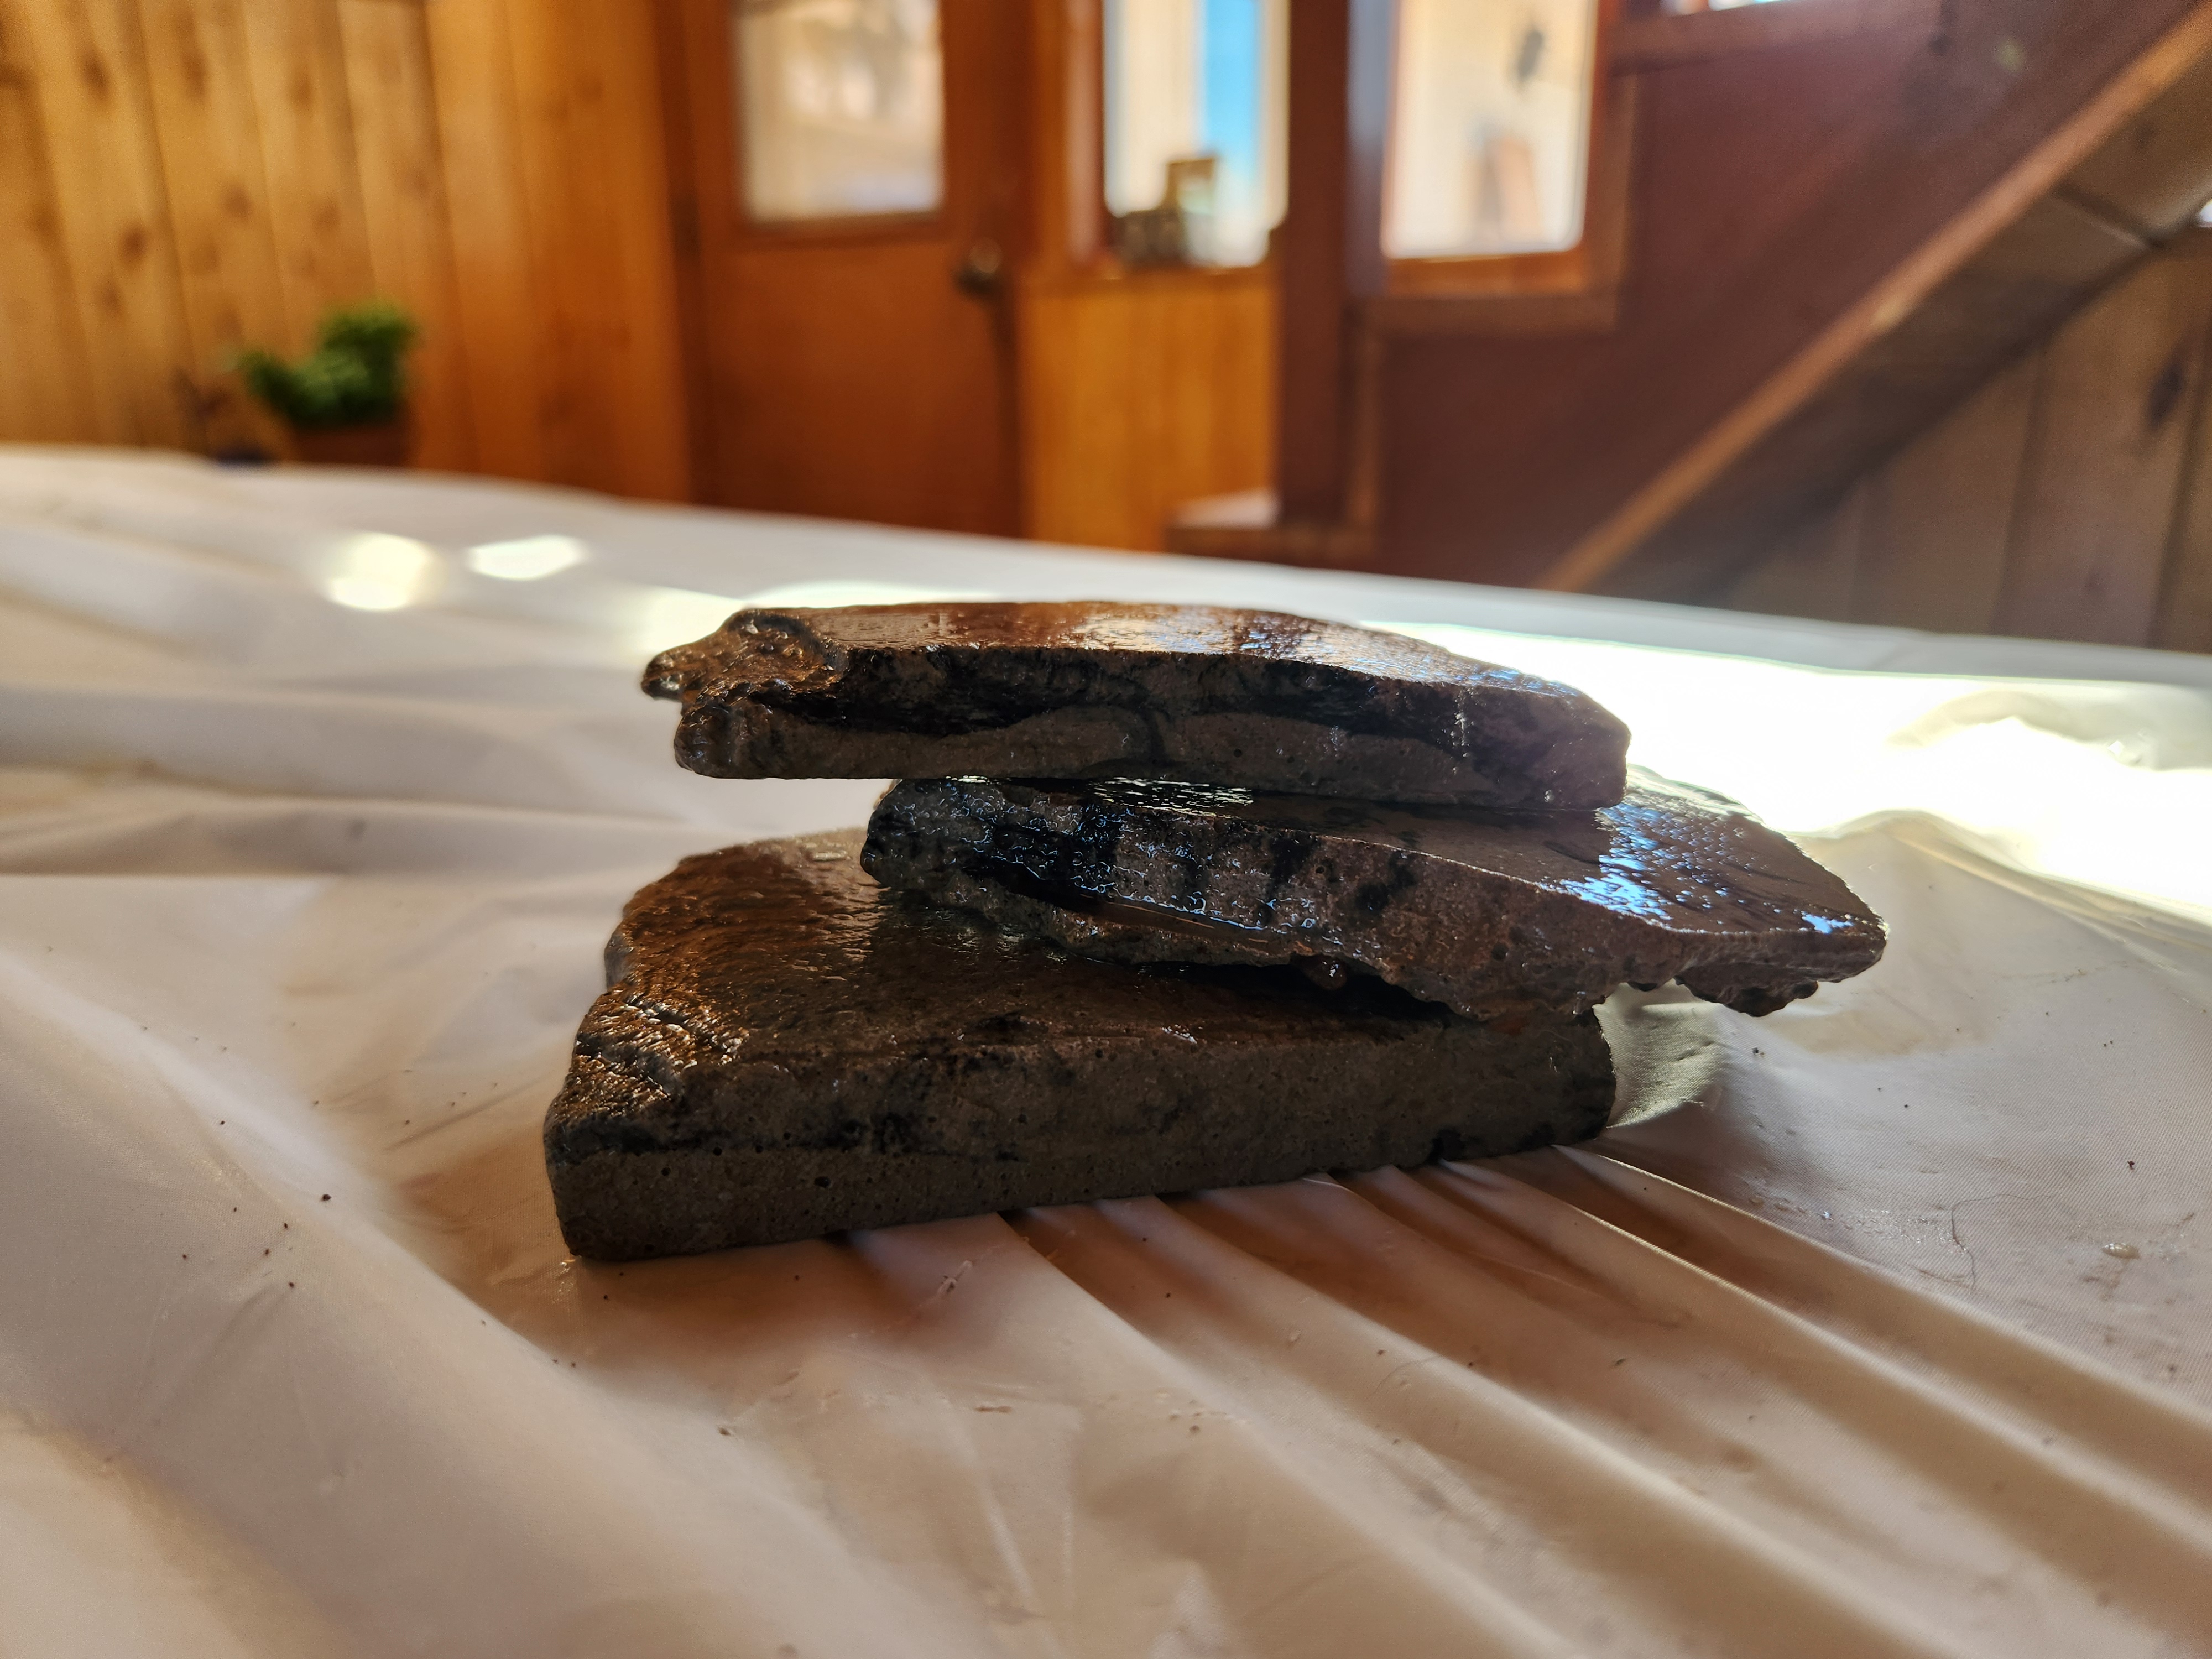
3. Fill your 10 gallon tank halfway with dechlorinated water (10 drops of dechlorinator per 1 gallon of water). Let the substrate settle in the tank for a few hours to allow all air bubbles to rise from underneath.
4. Assemble, and place the sponge filter. DO NOT PLUG IN ATTACHED AIRPUMP UNTIL THE AIRSTONE IS ASSEMBLED, PLACED IN THE TANK AND ATTACHED TO THE SECOND AIRPUMP ACCESS POINT (ignore if only using one access point airpump)
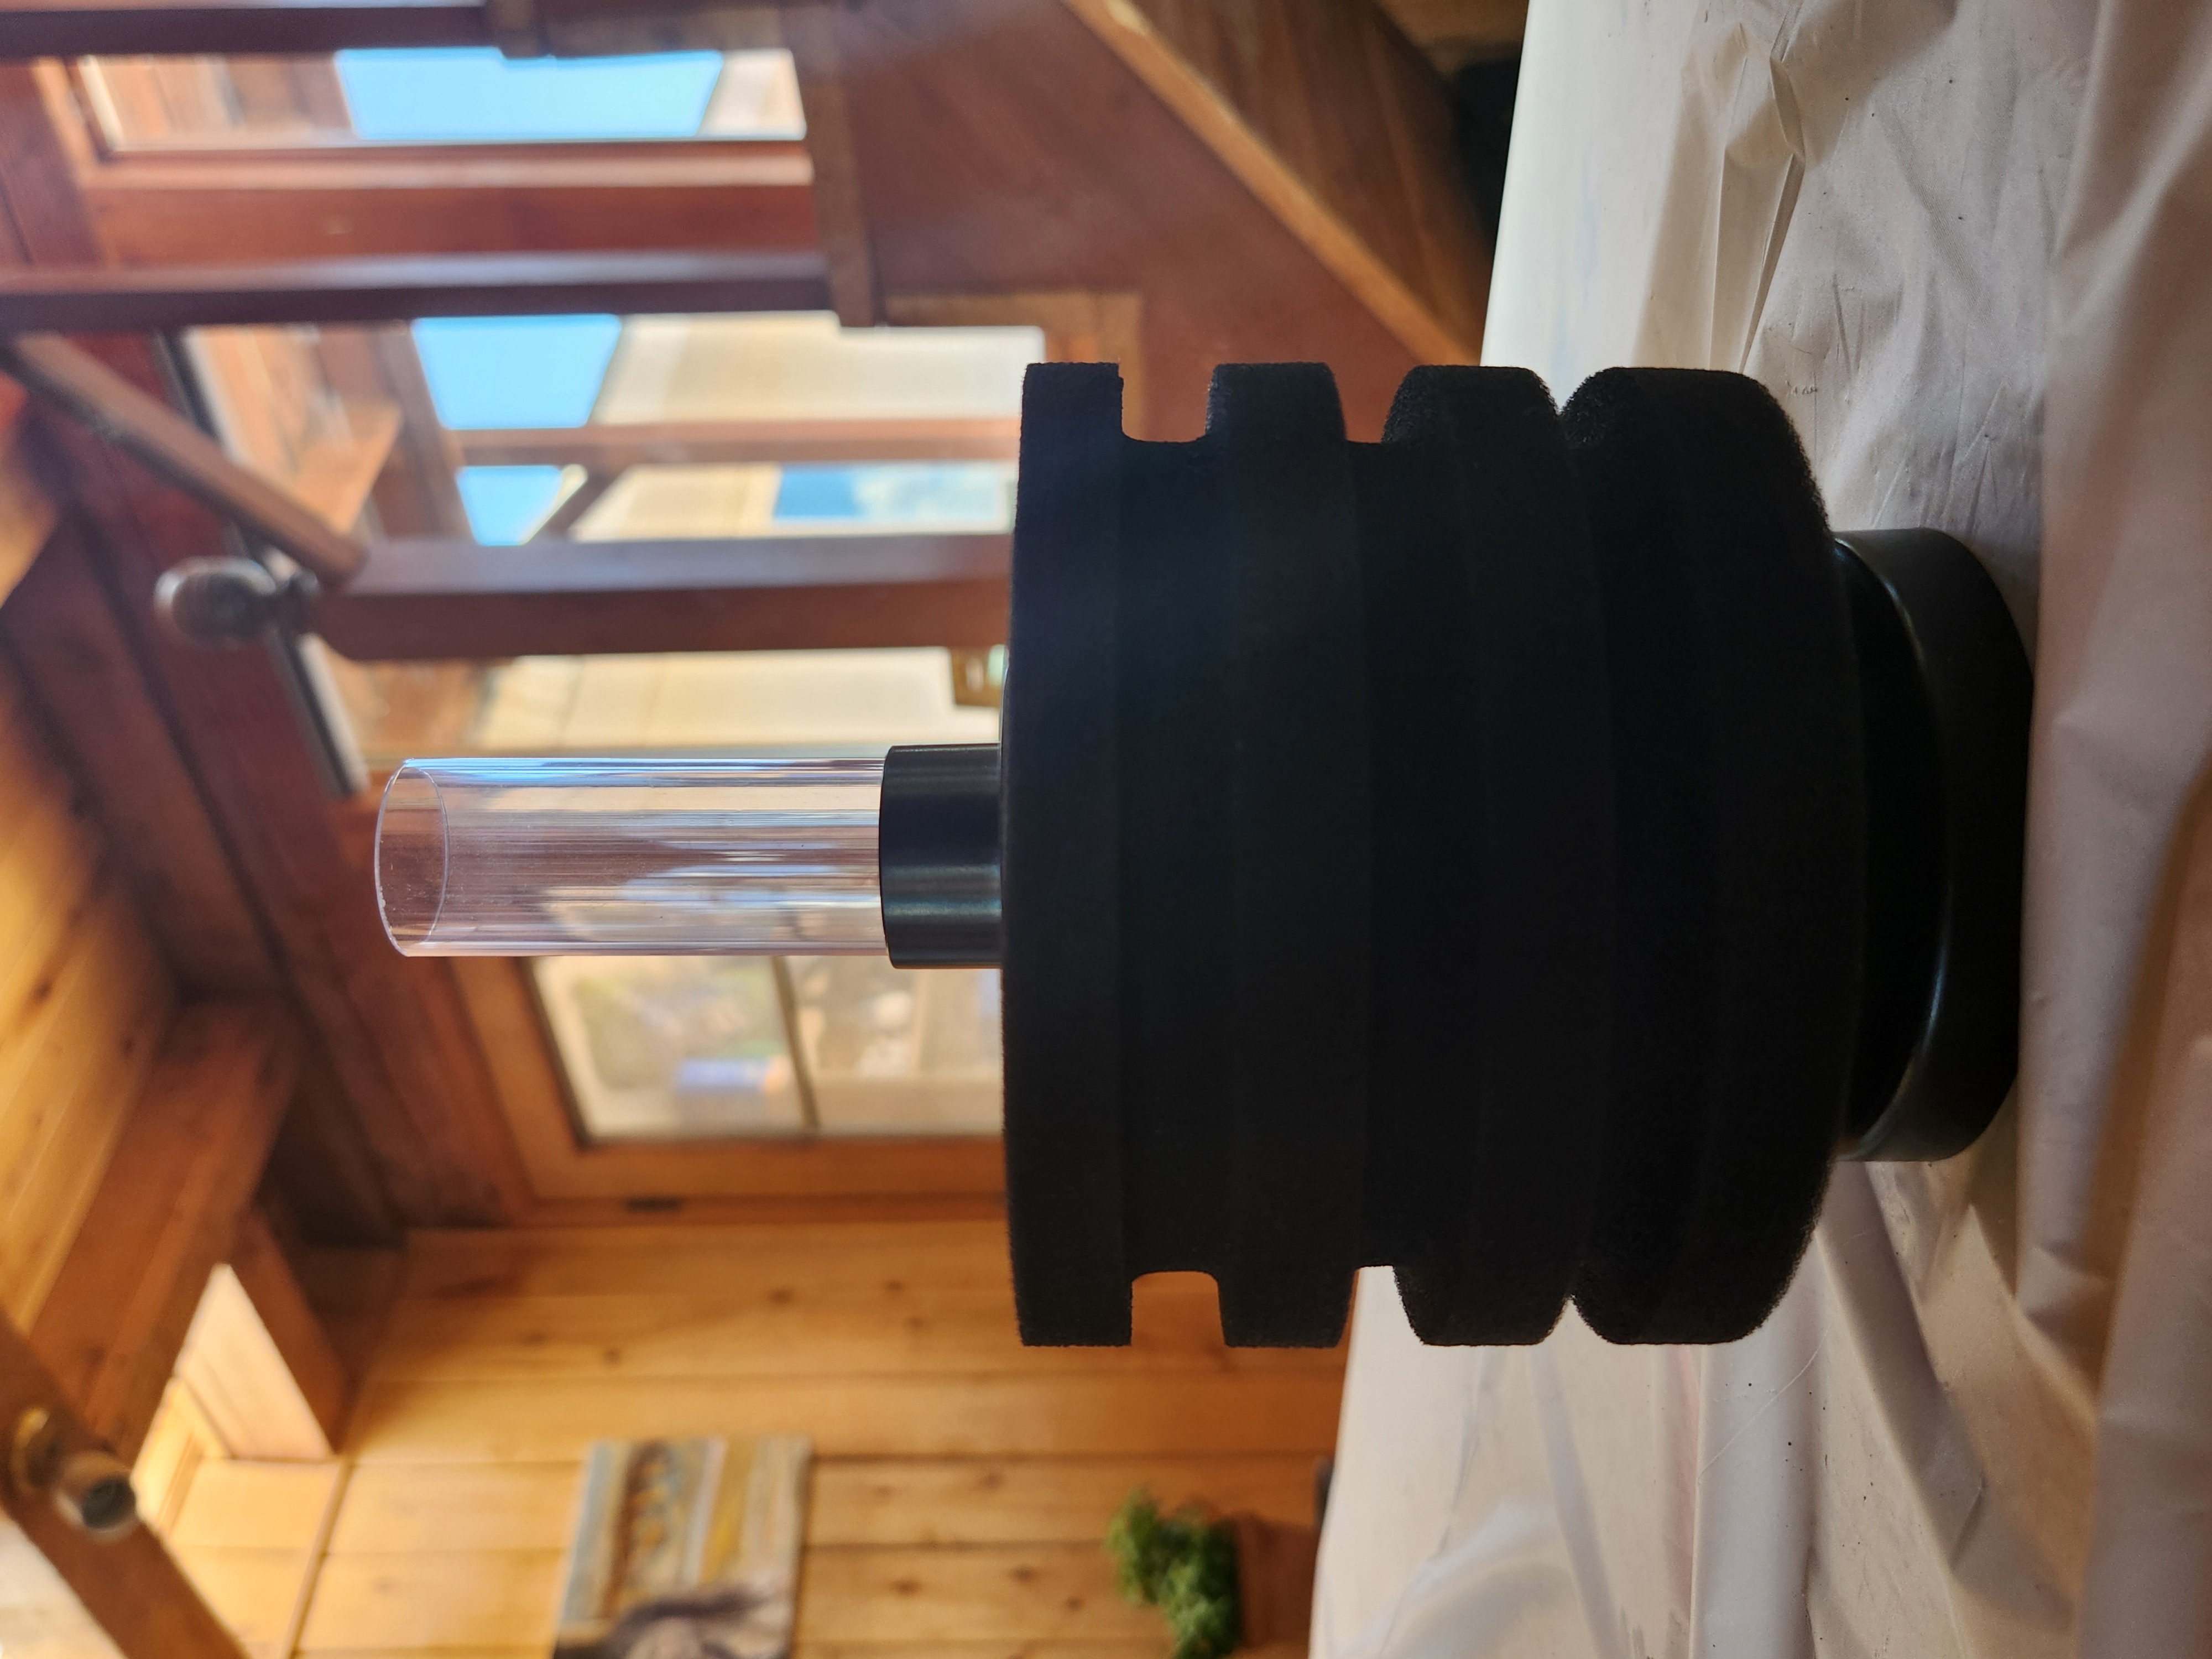
5. Assemble and place your airstone in a corner of the tank.
6. Plug in airpump (two access point, or single)
7. Let the tank cycle (run without occupants) for 2 to 3 days before putting the baby in.
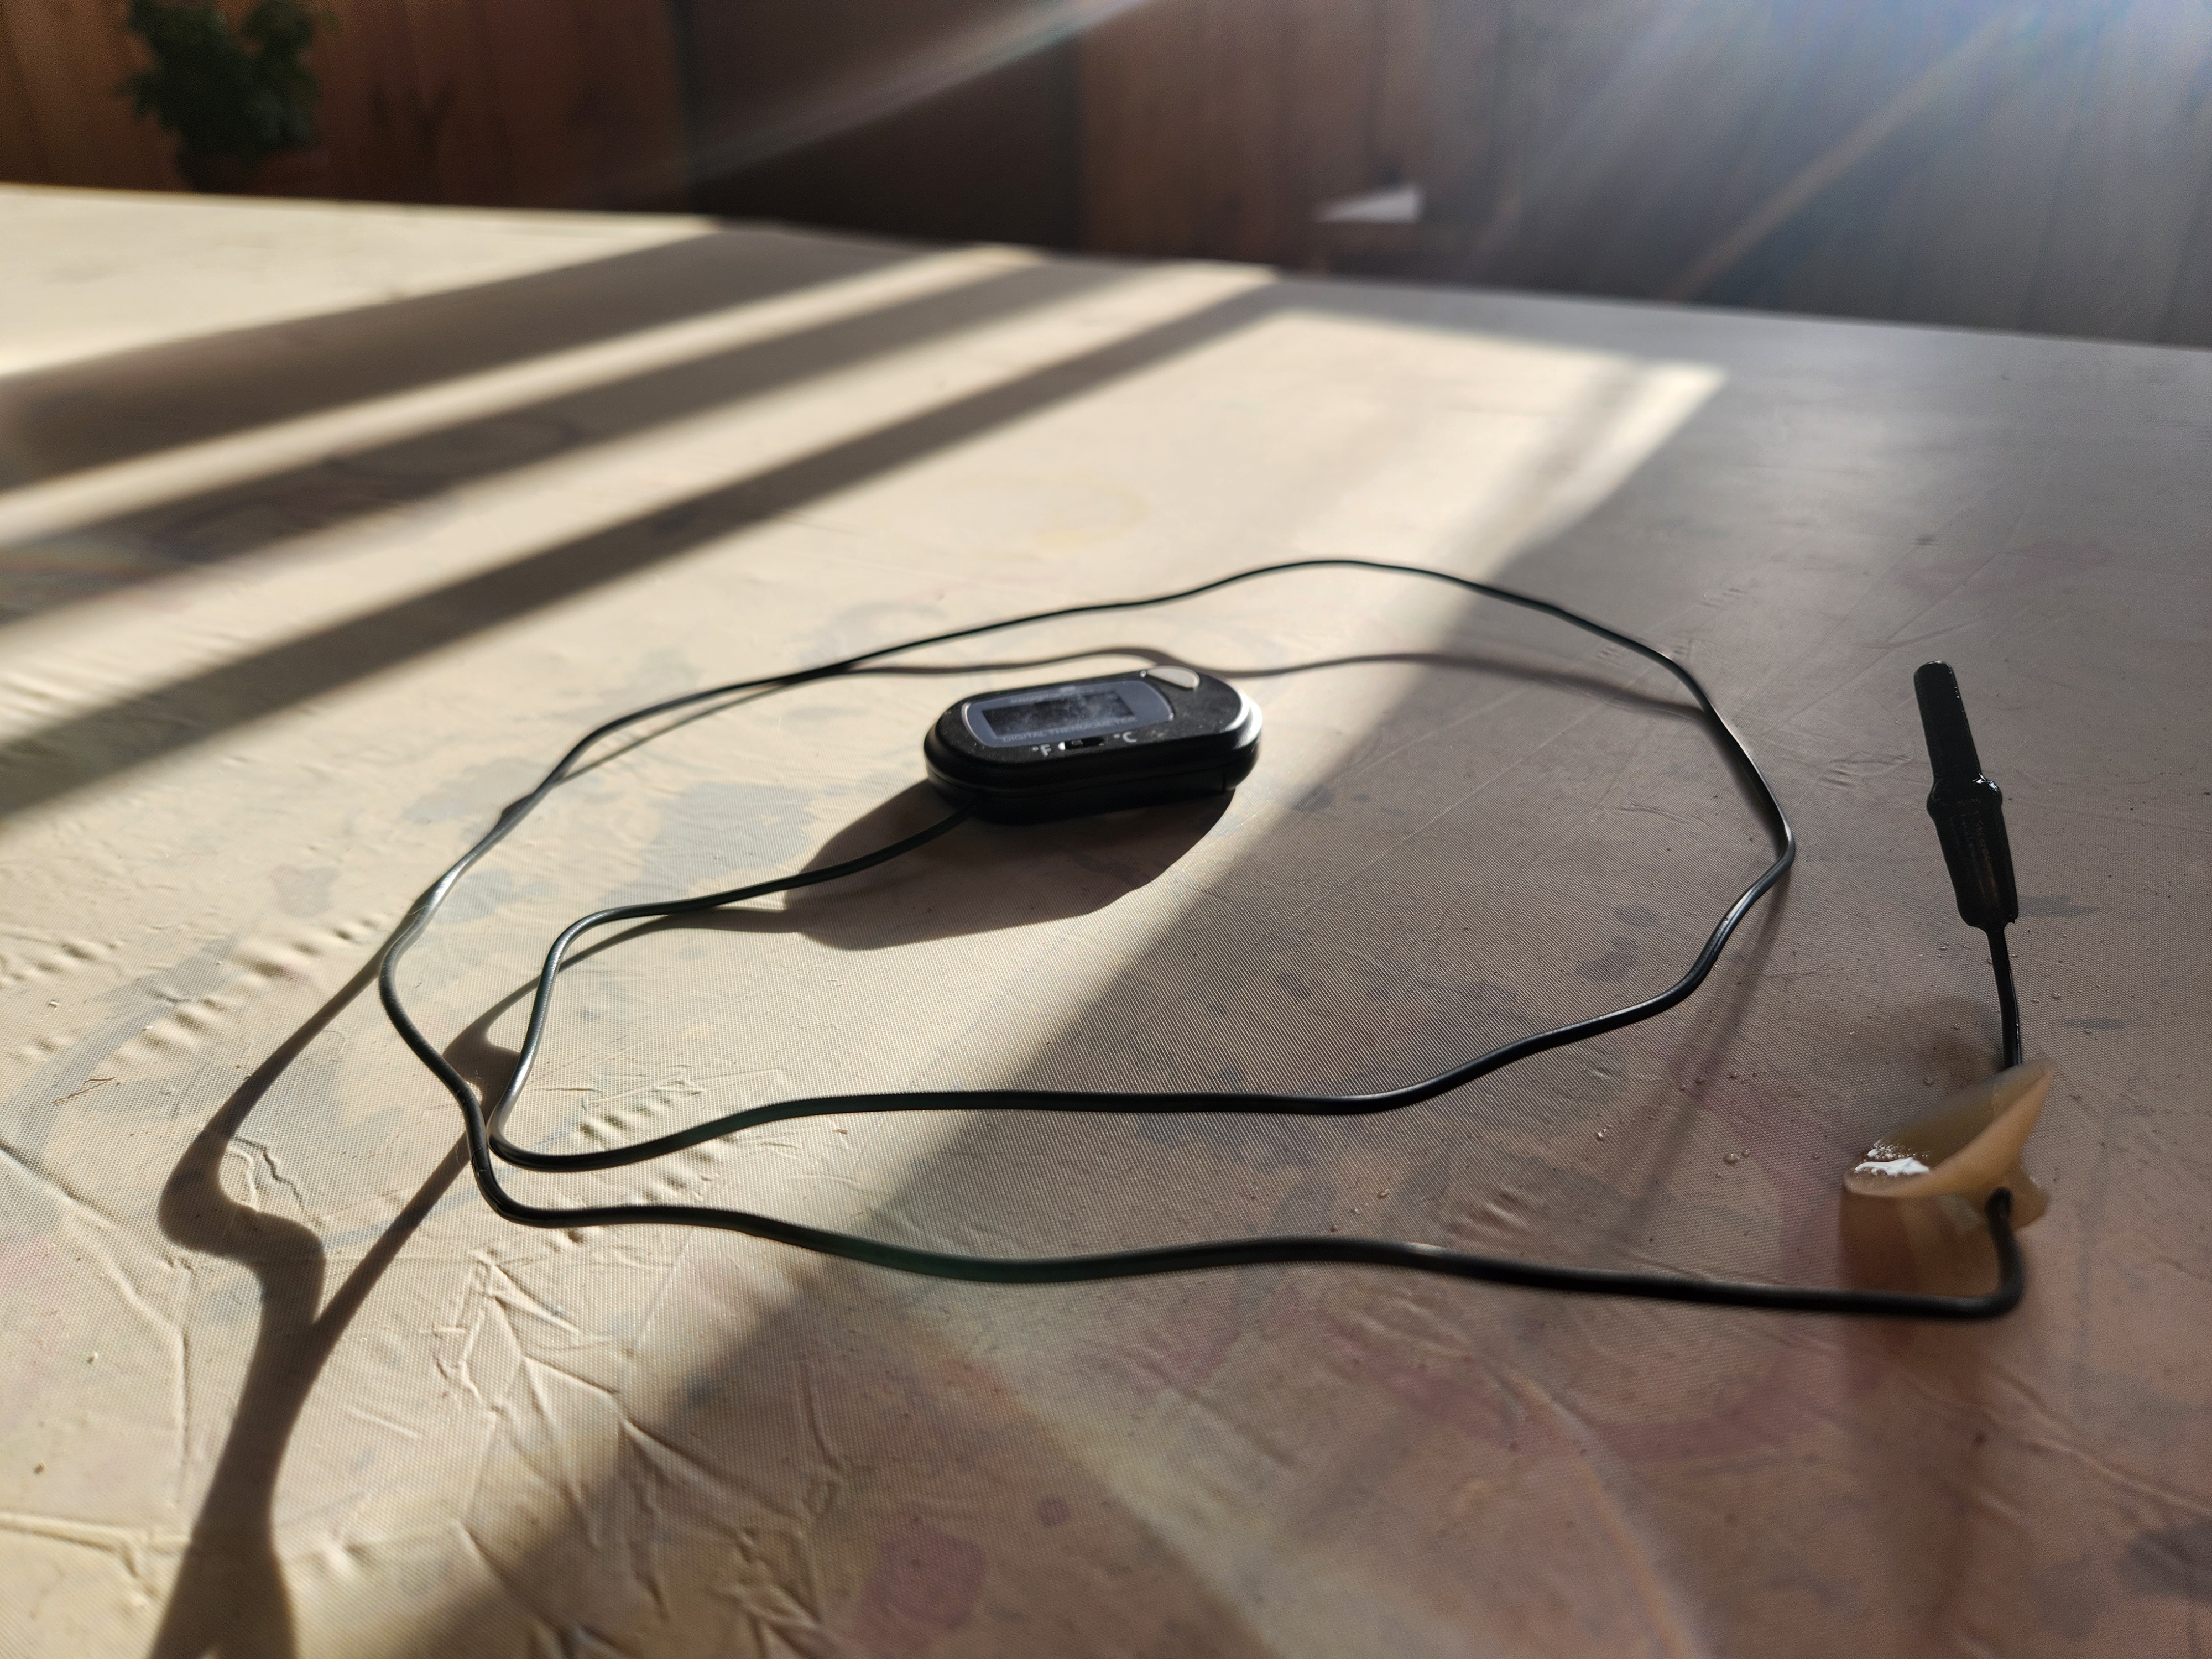
8. Make sure the temperature is between 64 to 67 degrees Fahrenheit before adding the baby to the tank. To lower the water temperature of the tank, add frozen water bottles if you do not have a water chiller yet.
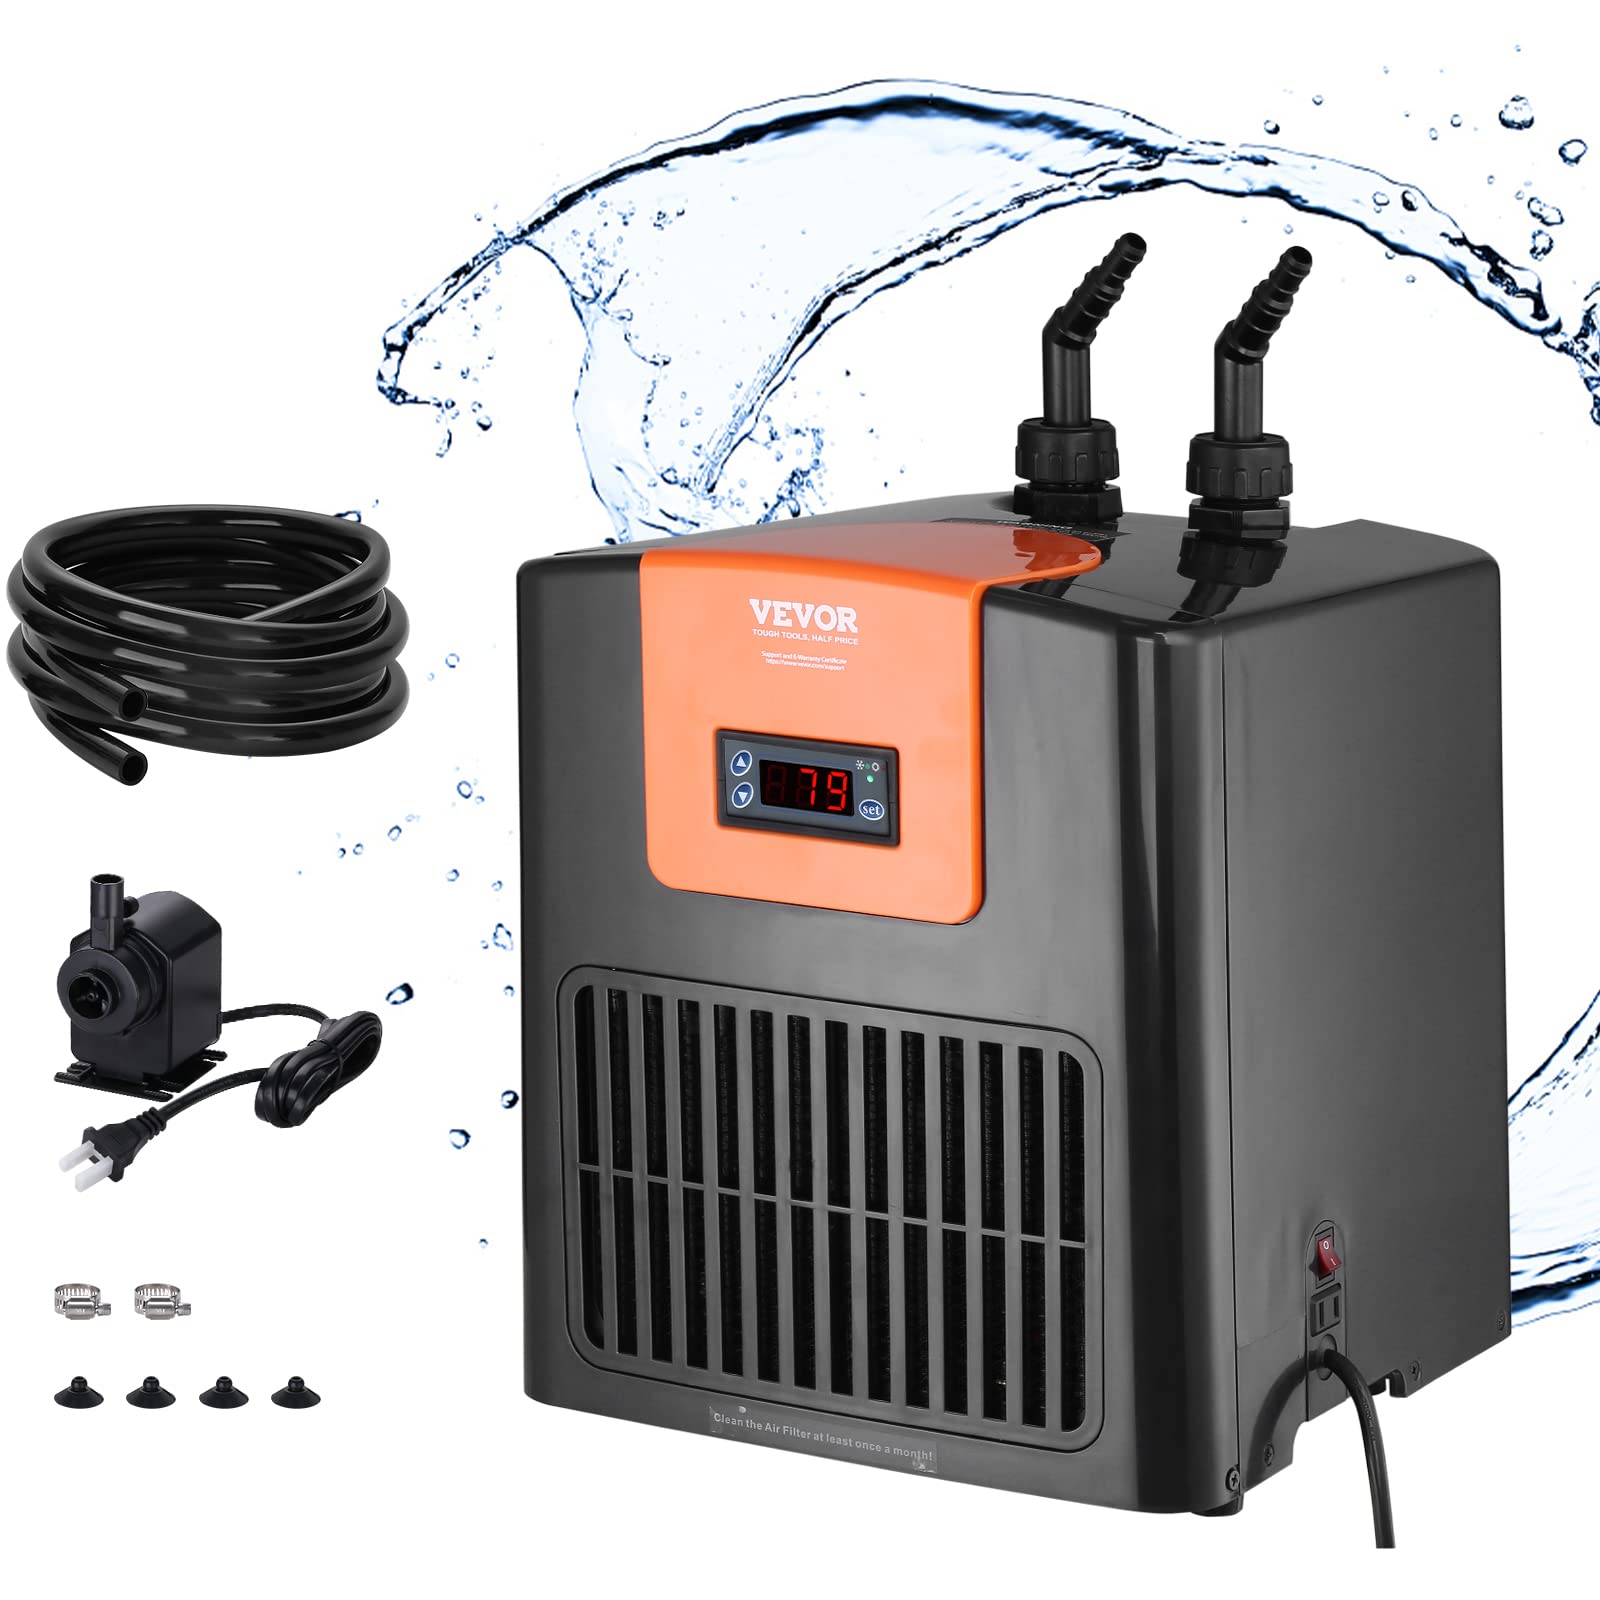
9. If you have a water chiller, assemble and place the equipment in the corner of the tank. (The baby could get sucked up into the chiller if not set up in a protected corner of the tank.)
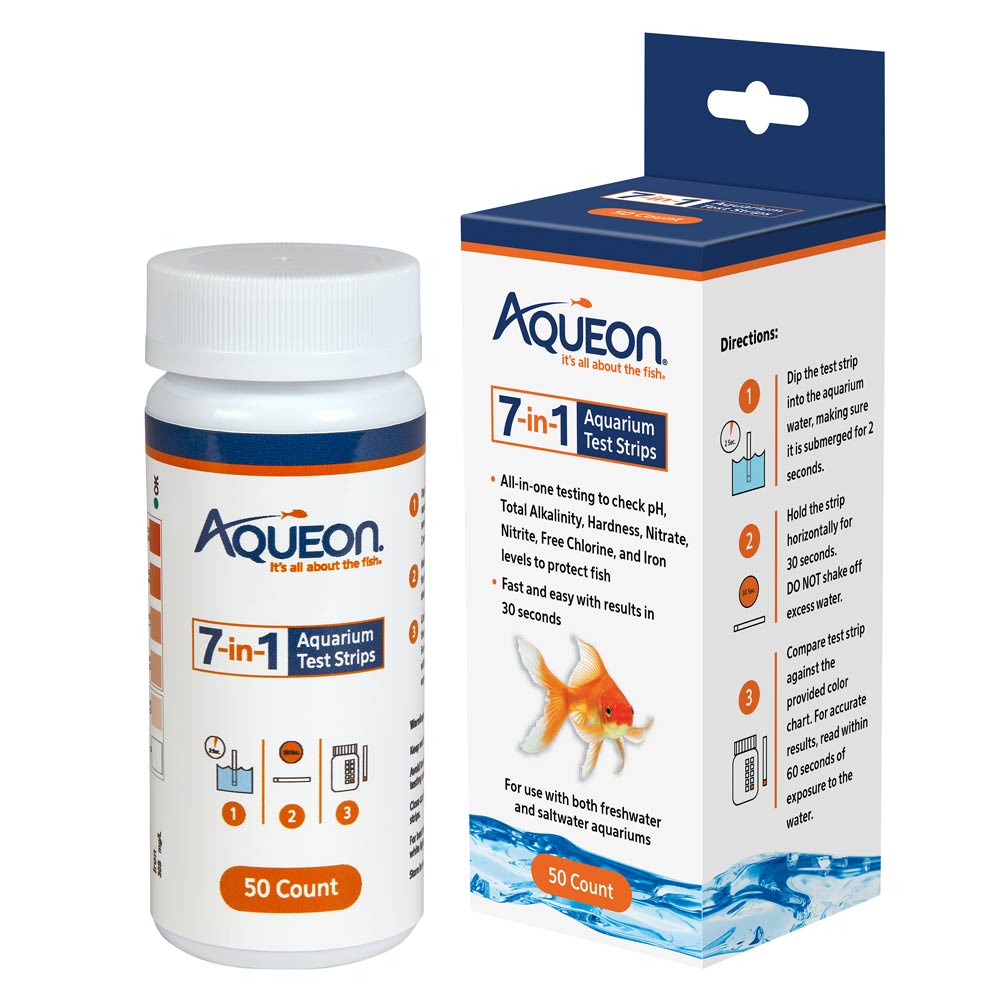
10. Check the nitrates, nitrites, and pH with aquatic test strips during cycling. Nitrates and nitrites should both read 0, and pH should sit between 7.4 and 7.6 (this can be altered using “pH up” or “ph down” solutions at your local pet store) before adding the baby.
11. Add the baby after the acclimation period (see acclimation below)!
Acclimating
- Once you have received your baby, keep it closed in its bag and lay it gently in your pre-set tank for 30 minutes. This is to let the temperature of the water in the bag meet the same temperature as the water in your tank, so it does not shock the baby when it enters the tank.
- Gently open the baby's bag and release the baby into the water.
Baby Axolotl Care
Temperature (64-67 degrees Fahrenheit):
Frequently monitor the temperature of your baby's tank. If you cannot get a water chiller quickly, use frozen water bottles to cool the tank. Axolotls prefer cold temperatures - 64-67°F. Do this slowly, as a dramatic shift in temperature could shock the baby.
Water Changes (20% daily):
Daily until 2.5 inches: When removing water and debris, make sure to use airline tubing (create a syphon), so as not to disturb, or hurt the baby. Dispose of this water and treat the new water (same amount removed) with your water dechlorinator (roughly 10 drops per gallon).
After 2.5 inches: Water changes can be reduced to once a week.
After 5 inches: Change water every two weeks.
Keep the new water temperature within one or two degrees of the baby's tank temperature, so as not to shock the baby once re-added. Add this water slowly - I use the same airline tubing to re-add, placing the water pitcher/bucket above the baby's tank for the best syphon and speed of water replacement. Once the baby is 2.5+ inches long, the water can be changed less, about once a week. After 5 inches, water changes can be once every two weeks.
Feeding:
Babies are initially too small for carnivore pellets or large worms, so it is best to feed them hatched baby brine shrimp (see hatchery set up and feeding instructions), or chopped bloodworms (half dissolved frozen cube, once a day). Feedings should be twice a day (¾ of a 3ml syringe of baby brine shrimp). Overfeeding can be fatal, so smaller feedings twice a day is the best bet.
Once the axolotl reaches about 3 inches, feed once daily and begin to introduce variety — larger worms and carnivore pellets are now acceptable.
Continual Adult/Junenile Care:
As the baby gets to be about 5 inches, you can feed them more and just once daily. At this point, vary the diet with different types of worms and carnivore pellets. Provide them with a full cube of partially dissolved frozen bloodworms, or a cluster of black worms (nickel size cluster), or 10-15 carnivore pellets. Feed one of these options everyday to your growing juvenile or adult axolotl!